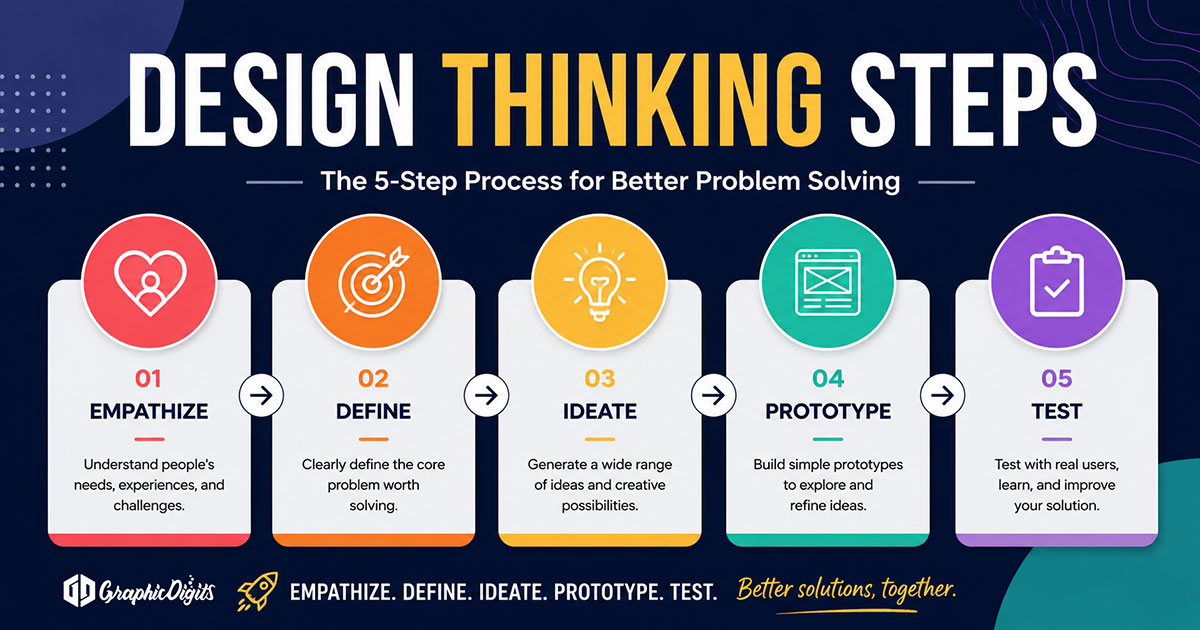
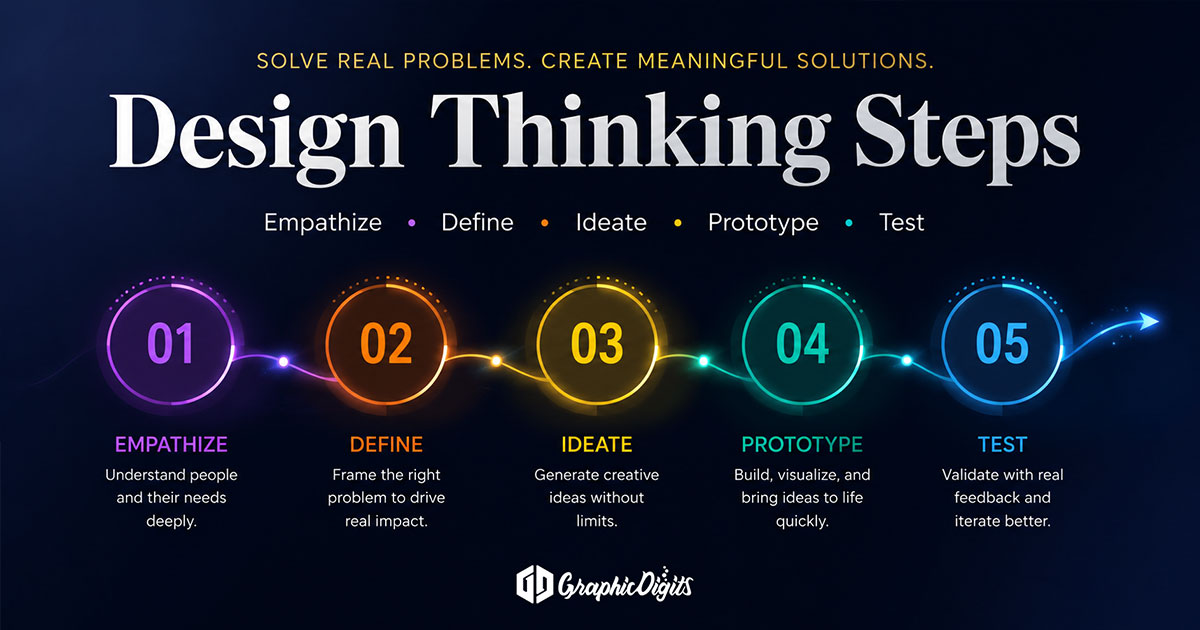
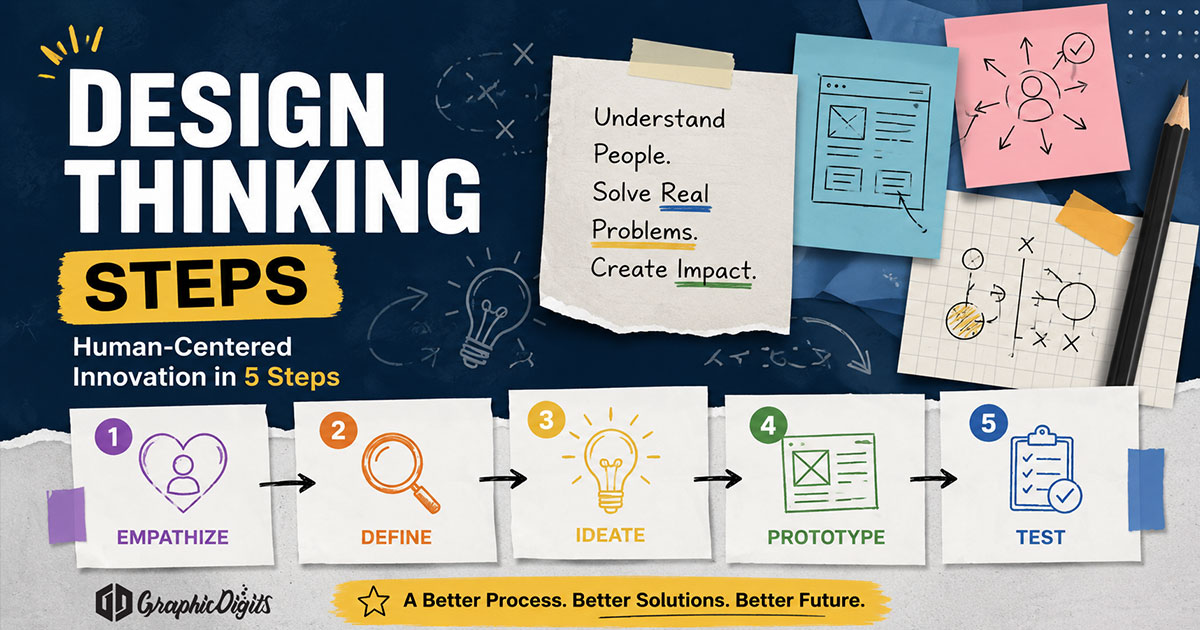
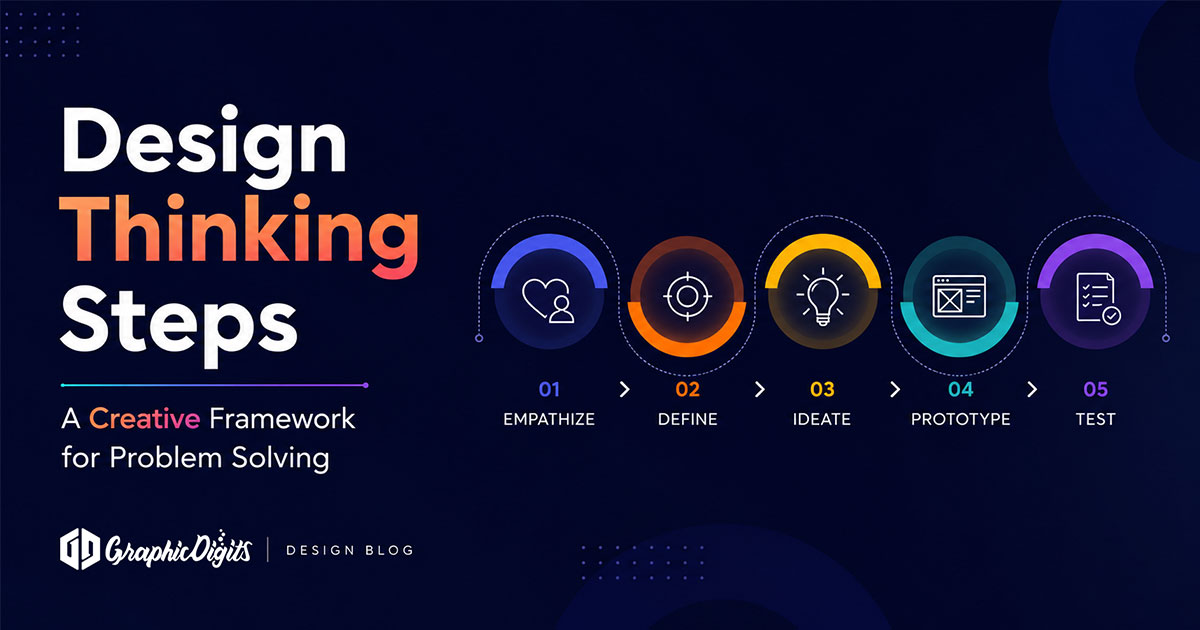
Design thinking steps are a numbered walkthrough you can run on a real project: Empathize, Define, Ideate, Prototype, and Test. This page is that checklist—what to do next, in order, without turning every task into a workshop.
For the design thinking mindset and principles behind the checklist, see that companion article. For a deeper explanation of how the stages interact, loop and evolve, see the full design thinking process guide. GraphicDigits does not sell a “design thinking service.” When you need production design after direction is clear, browse design services.
How to use this guide
- Pick one project with a fuzzy problem—not a known one-line print fix
- Run the steps once lightly before adding polish or production files
- Loop back when evidence says the problem frame was wrong
- Keep commercial delivery (kickoff, reviews, launch) separate—see our process
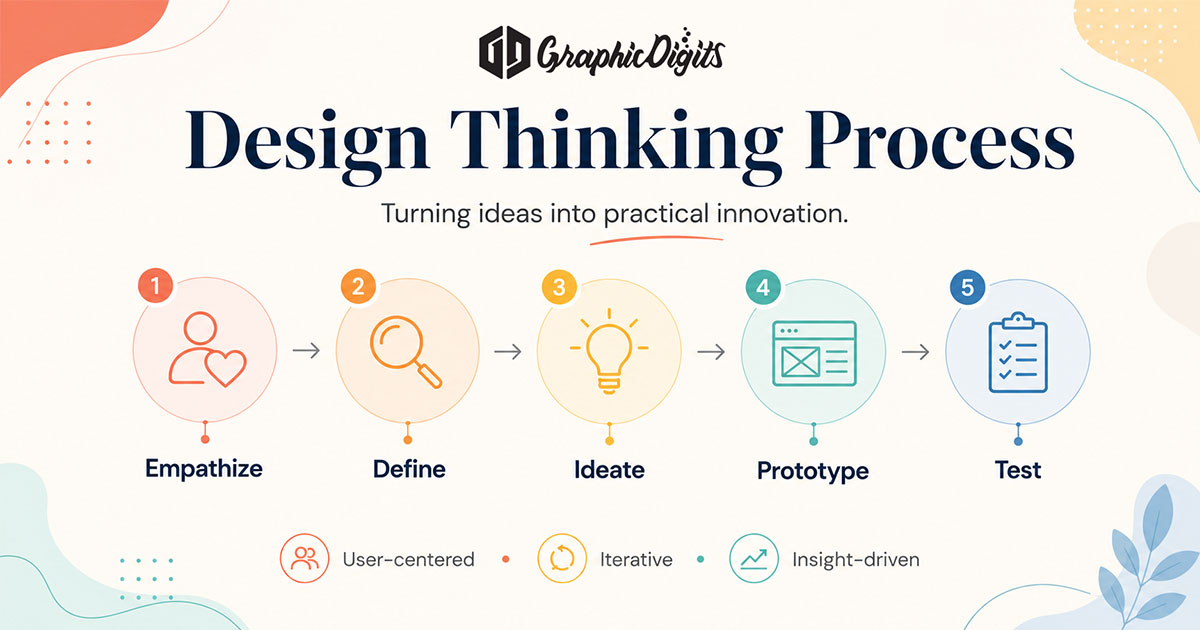
The five steps at a glance
- Empathize — learn from people in context
- Define — write a problem you can design against
- Ideate — generate options before locking one
- Prototype — make the idea tangible enough to react to
- Test — gather feedback and decide the next loop
Step 1 — Empathize
Goal: replace assumptions with observed needs. Talk to a few people who will use or decide on the work. Capture what they do and say—not only what stakeholders prefer to believe.
- Run a short discovery call or interview (15–30 minutes)
- Note jobs, constraints, and workarounds in their own words
- Separate observations from your interpretations
- Stop when patterns repeat—not when you have a slide deck
Step 2 — Define
Goal: one clear problem statement the team can test against. If the statement is really a solution in disguise (“we need a new logo”), rewrite until the human need is visible.
- Synthesize themes from empathy notes
- Write who struggles, what blocks them, and what success would change
- List assumptions you still have not checked
- Share the statement with stakeholders before ideation
Step 3 — Ideate
Goal: widen options before narrowing. Quantity first; critique later. Sketch, write headlines, or map flows—whatever matches the medium.
- Set a short timed burst (10–20 minutes) for raw ideas
- Include a few wild options so safer ideas can learn from them
- Cluster concepts; pick a shortlist to prototype—not a winner by volume of talk
- Do not polish yet; fidelity hides risk
Step 4 — Prototype
Goal: make the shortlist concrete enough for reaction. Paper layouts, wireframes, rough brand boards, or clickable paths all count. Match fidelity to the question you are asking today.
- Build the lightest version that answers one question
- Label it as a draft so reviewers do not treat it as final art
- Keep production files and brand systems for later hiring—see branding design when you need that craft
Step 5 — Test
Goal: learn, not “approve.” Watch someone attempt the prototype or explain what they understand. Capture what to refine, pivot, or stop.
- Ask for a task or a read-aloud—not “do you like it?”
- Note confusion before you defend the design
- Decide: refine the prototype, revisit Ideate, or return to Define/Empathize
- Write one evidence-based next step before the meeting ends
One-pass checklist for a design project
- Who did we learn from, and what did we observe?
- What problem statement guides today’s ideas?
- Which three directions did we sketch before picking one?
- What is the lightest prototype that answers the open question?
- What evidence tells us to refine, pivot, or hand off to production?
That last handoff is when design services or a scoped quote make sense. Revision rounds are scoped—not unlimited. Leave the method deep-dive on the design thinking process page and the principles on the design thinking mindset page.
Frequently asked questions about design thinking steps
What are the design thinking steps in order?
The five common steps are Empathize, Define, Ideate, Prototype, and Test. Use them as a numbered walkthrough on a real project—not as a rigid waterfall.
How is this different from the design thinking process guide?
This page is a practical step-by-step checklist. The design thinking process article explains how the stages work, why they loop, and when to use the method. The design thinking mindset article covers principles and when to apply the approach.
Do I need all five steps every time?
No. Ambiguous, people-heavy problems benefit from the full loop. A known print tweak or maintenance task may only need craft—not a full research ceremony.
Can teams repeat a Design Thinking step?
Yes. The numbered steps are a practical sequence, but teams may return to an earlier step when new evidence changes the problem or solution. For a deeper explanation of iteration and how the stages interact, see the design thinking process guide.
Does GraphicDigits offer a design thinking service?
No. Design thinking is a problem-solving method, not a product we sell. When you need production design after direction is clear, use design services or request a quote. Revision rounds are scoped—not unlimited.