Create a brochure that starts with purpose
Asking “how do I create a brochure?” is really asking how to map a story onto panels. Define the job first—introduce a service, support a sales leave-behind, or guide an event—then choose a fold that fits the content load.
Quick answer — how to make a brochure:
- Define the purpose
- Identify the audience
- Choose the brochure format/fold
- Plan the content and panel hierarchy
- Design the visual system
- Add CTA and contact information
- Prepare and proof final files
Template-first planning lives on the brochure template guide. When brand systems need a bespoke build, see custom brochure design. For types, styles and examples, browse brochure designs. For deeper layout and print-production planning, use the brochures design planning guide. This page is the step-by-step creation process.
Why brochures still work
Brochures give readers a structured path they can keep. At events, counters, and meetings, a clear multi-panel piece can outlast a scroll-by ad—if hierarchy and fold choice match the message.
Step-by-step: how to create a brochure
1. Define the purpose
Write one sentence: what should the reader do after finishing? That sentence drives the CTA and panel order.
2. Identify the audience
Name who the piece is primarily for—prospects at a trade show, existing clients, patients, or visitors. Audience clarity decides tone, proof points, and how much jargon is safe. A leave-behind for buyers needs different language than an educational handout.
3. Choose the brochure format/fold
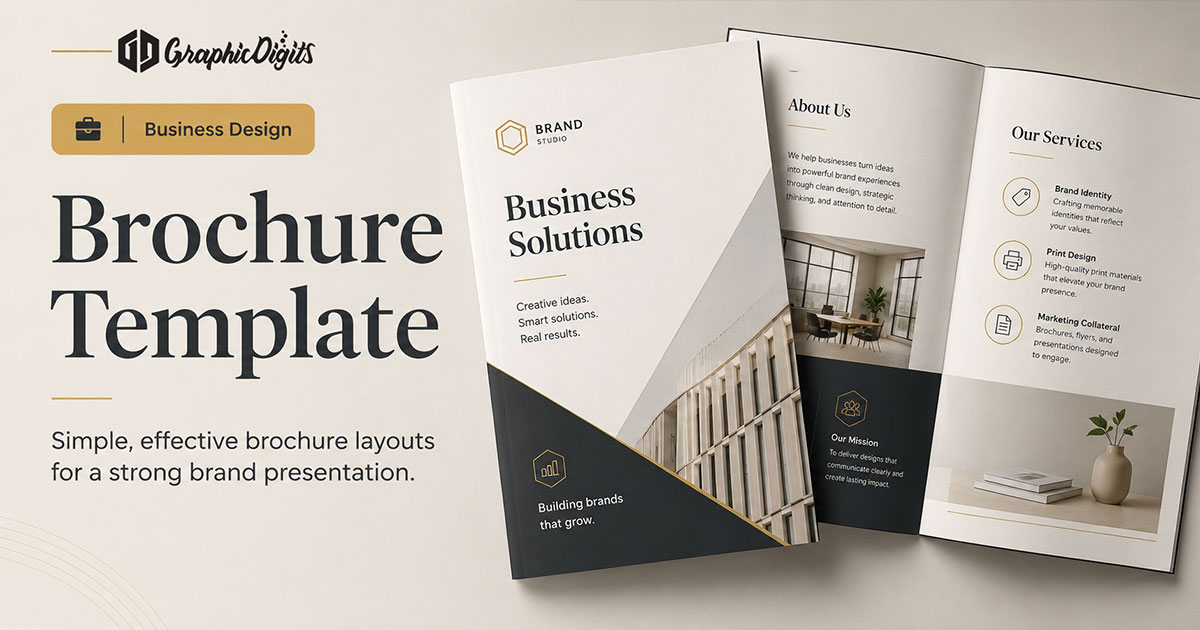
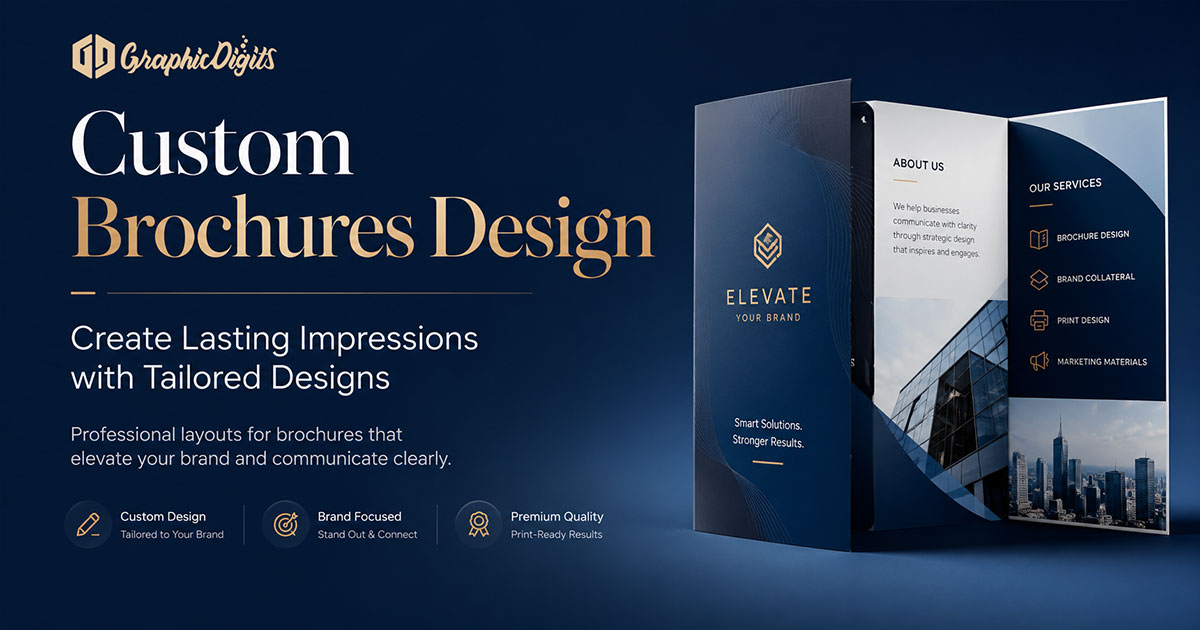
A bifold brochure suits focused stories. A trifold brochure suits services, steps, or feature lists. Gatefold or Z-fold can work when the opening reveal matters—only if content still fits cleanly.
4. Plan the content and panel hierarchy
Assign roles: cover hook, proof or features, offers or process, back-cover contact. Cut copy that does not serve the purpose. Front cover should land one primary idea; inside panels expand it; the closing panel earns the next step.
5. Design the visual system
Use clear headings, brand colors, strong images, readable type and whitespace so the eye moves toward one primary CTA. Keep a simple grid so panels feel related rather than like separate posters.
6. Add CTA and contact information
Place one primary call to action where decisions happen—often near contact details on the final panel. Include phone, web, email or QR as needed, without repeating every CTA on every panel.
7. Prepare and proof final files
Lock size, bleed, and color notes from your printer before final art. Review a soft proof (and a hard proof when stakes are high). GraphicDigits designs print-ready files; we do not print the run.
Audience and front-cover role
Audience focus shapes what the cover promises. The cover is not a summary of every service—it is a single hook that earns the open. Supporting lines can clarify who it is for, but they should not compete with the main headline.
Inside panels, imagery, type and colour
- Inside hierarchy: lead with benefits or proof, then details; keep one idea per panel when possible
- Imagery: choose photos or illustrations that support claims; avoid low-contrast overlays on busy backgrounds
- Typography: limit type styles; size headings for scanability at print distance
- Colour: stay on-brand with a small palette so accents guide the eye to the CTA
- Layout/grid: align columns and margins across panels so the piece feels intentional when unfolded
Template vs custom while you create
- Template: fast for reusable, light brand swaps
- Custom: better when content or brand systems do not fit a fixed map
- Hybrid: start from a fold map, then rebuild panels to fit your story
Basic print prep, bleed and proofing
Keep critical text inside a safe area away from trim and folds. Extend backgrounds into bleed when the printer requires it. Use high-resolution images suitable for print. Confirm CMYK or other colour expectations with your vendor. Soft-proof on screen, then approve a printer proof before a large run. For fuller production planning—sequencing, formatting principles and handoff checklists—see brochures design.
Digital brochure considerations
If the same story will be shared as a PDF, plan contrast and type for screens, keep file size practical, and make contact paths easy to reuse. Digital layout patterns and variants are covered in the brochure designs overview and related digital guides.
What strong brochure designs share
- Clear headings that spark interest instantly
- Brand colors and type that stay consistent
- High-quality images that support claims
- One primary call to action
- Balanced layouts that avoid panel clutter
Common creation mistakes
- Picking a fold before counting the content
- Skipping audience clarity before writing copy
- Multiple competing CTAs on every panel
- Low-contrast text over busy photos
- Skipping printer specs until the design is locked
- Treating design deliverables as if they include printing
Practical checklist
- Purpose sentence and primary audience written down
- Fold/format chosen to match content load
- Panel map with cover, inside roles and closing CTA
- Type, colour and image direction aligned to brand
- Contact details and one primary CTA placed
- Bleed, safe area and resolution checked
- Soft proof (and printer proof when needed) approved
Where brochures often get used
- Trade shows and leave-behinds
- Retail counters and service menus
- Real estate and product summaries
- Healthcare education handouts
- Hospitality and tourism packets
How GraphicDigits can help
GraphicDigits designs brochure artwork—layout, hierarchy, and print-ready files—through business brochure design. Printing stays with your vendor. When you want help creating yours, discuss your project.
Frequently Asked Questions about Creating a Brochure
How do I create a brochure for my business?
Define the purpose and audience, choose a fold that fits the story length, map content to panels, design a clear hierarchy with one primary CTA, then prepare and proof files using your printer’s specs.
What are the main steps to make a brochure?
Purpose, audience, format/fold, content and panel plan, visual system, CTA and contact details, then file prep and proofing. Templates speed simple jobs; custom design fits brand systems that need a bespoke panel map.
Should I use a template or a custom brochure?
Use a template for simple, reusable messaging. Choose custom design when brand rules, content length, or campaign goals do not fit a fixed panel map cleanly.
Does GraphicDigits print brochures?
No. GraphicDigits designs brochure artwork and print-ready files. Printing and finishing are handled by a print vendor after proofs are approved.
How is this different from custom brochure design?
This page is a step-by-step creation process. The custom brochure design guide focuses on when customization beats templates and how to brief that work.